On schedule!

We took everything and put it on a Gantt chart. Gantt? I think that’s what its called. Project timeline software. We gave a week to build liner #4 and a week for liner #5. Tim/Tom think they can pop #4 and shoot #5 by the end of the week..
We’ll see..
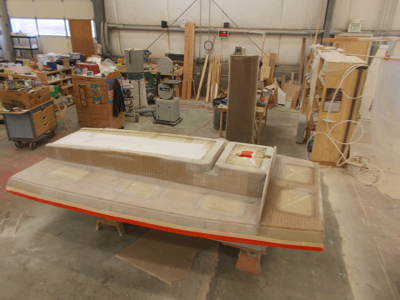
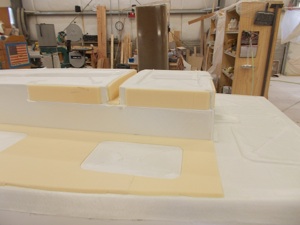
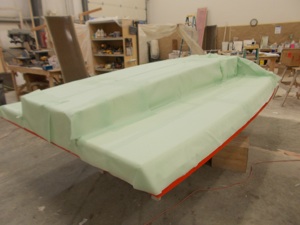
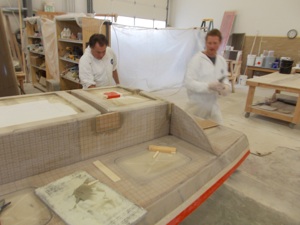
Anyway here’s building #4.
Adding first bits of glass. This is a fine glass tape we add around the hatch lid openings to reinforce the edges and reduce any possible resin bubbles issues.
Resin bubbles like to form in tight corners. If you get a resin bubble behind gel-coat with no glass reinforcement, no matter how small, it will break out later in your part. But, if there’s glass packed in the corner, the bubble will usually A) Not form at all or B) Not be an issue because everything is reinforced by the glass. This is a belt & suspenders kind of procedure.
If you look close you can see the glass tape reinforcement around the edge and doubled in the corners.
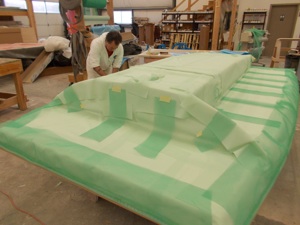
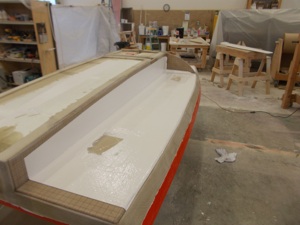
First layer of glass laid on over everything.
Core going on. This is a very fussy part because the core has to fit extremely tight around the bunk hatch openings.
If the core is not tight, you get voids. Voids cause resin blobs. Resin blobs cause bubbles and bubbles cause part failures! Or at least chip outs and rework.
I know, I sound like Yoda.
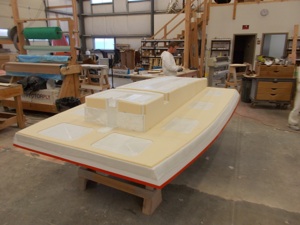
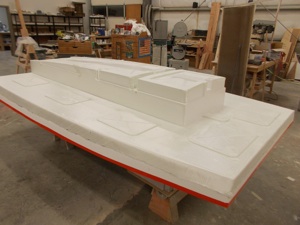
Core complete, ready for the second layer of glass.
All dry-stacked and ready to set in the resin plumbing and put on its vacuum bag.
Notice there is suddenly a bulkhead added to the mix. This bulkhead helps spread the keel side loads to the hull structure.
See below..
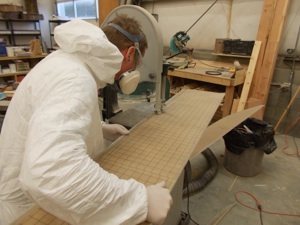
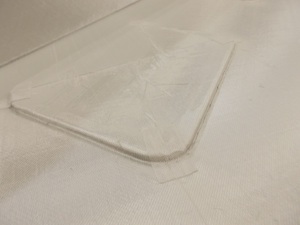
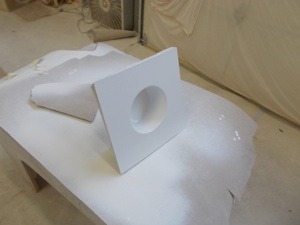
Remember this picture of Tom cutting out a shape from flat stock we made up earlier? This is that bulkhead. We install it after the second skin is on the part. Then we put a third skin over it and out around the edges to hold it in place. One infused it becomes an integral part of the liner.
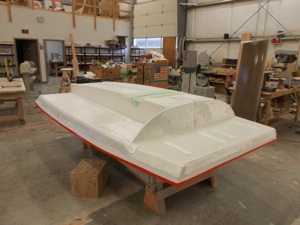
All peel-plied.
Plumbing starts..
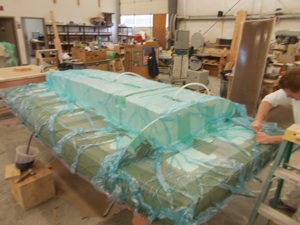
And the part gets shot..
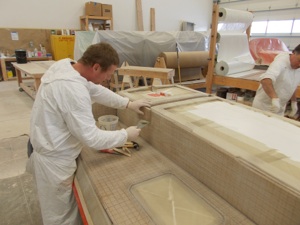
There is some secondary operations on this part. A piece of flat-stock goes over the reinforcement rib hole.
And the corner where the bulkhead meets the bottom forward bunk liner corner is filled in with core and matt.
These fill in bits are not structural at all. They are just added to make the storage compartments nice, smooth and easy to clean.
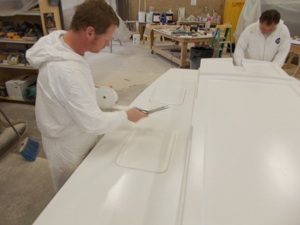
Backside paint. The entire backside is sanded to knock off the prickles and give the later bonding resin and paint something nice to grip to. Then the parts that are finished get painted now. After the liner is installed in the boat, we’ll go back and paint the rest.
The plan is to pull the liner off its mold tomorrow and start on the next one.
While this is going on we’re gathering parts for some more AC adapters. People are asking these things, so we’re dovetailing in a build of a few. We’re also doing some rudder work, but I won’t bore you with yet more rudder pictures today.
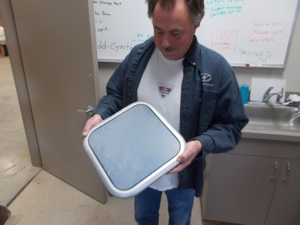
There’s talk, TALK I SAY! Of tooling up to put this little 12” x 12” hatch on the foredeck right in front of the mast. Mostly for ventilation and light.
I (PNW) was originally for doing this, Leif (So Cal.) said no. I need to ask Paul (#2-PNW) what he thinks. Mark (#3-Louisiana) says no. I currently tend to think no, Todd (#4 - Hawaii) says yes.. If you have any thoughts on this, we’re all ears!
This is where we are today. If we can finish up the second liner by friday (Oh boy) we’ll still be on schedule.
We’ll see..
Monday, February 18, 2013