Zoop!

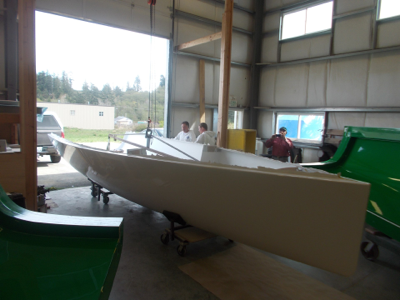
Dragging the hull mold outside, half under the front door gantry. The mold just barley fit out from around the hull when we opened it up. There was a collective sigh of relief when the halves slid past the gantry sides with about 1/4” to spare.
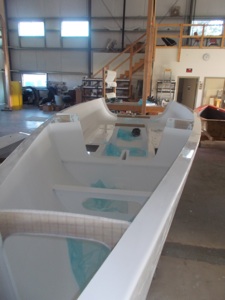
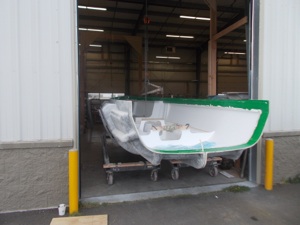
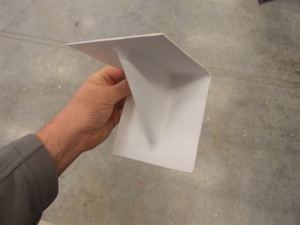
All trimmed and ready for a deck. Well, some grinding of gelcoat needs to happen first. Its actually, ready for me to install the electrical panels.
I swear I’m getting around to it. Really.
Now that we have a hull to template from, work starts on the forepeak plates. These are up to 1 1/4” thick cored composite panels.
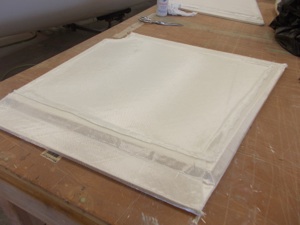
Rear, forepeak panel with glass wrapper.
We build the floor and forepeak panels a little different than your standard molded glass part. Typically, with glass moldings, its all about fitting everything into a molded surface. With these, we build an accurate 3D core and then tightly wrap the core with glass.
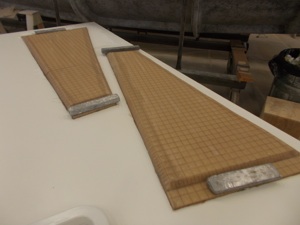
When the panel completely assembled, we place it on a flat table that has been gel-coated, bag & shoot it. The sides and back tend to be a bit rough, but its the top & correct structure that’s important.
We also find that the longer they sit held down to a flat surface the better. These are setup with lead weights to sit ‘till monday.
Steve has been getting some free time from his day job, so the woodwork has been starting to move forward again. This is good..
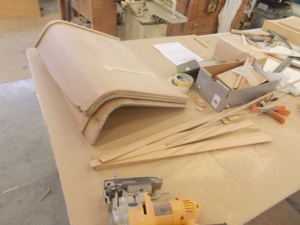
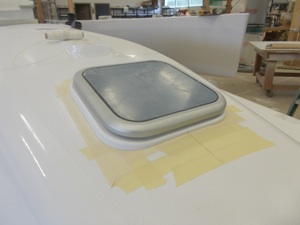
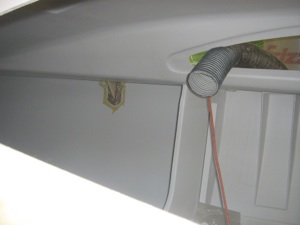
Mystery wood thing. This showed up today and I have no idea what its been built for. I assume its something to do with the hatch we’re cutting into Todd’s deck.
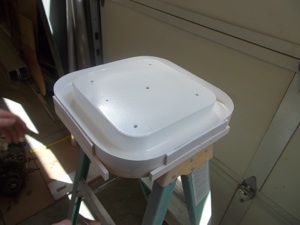
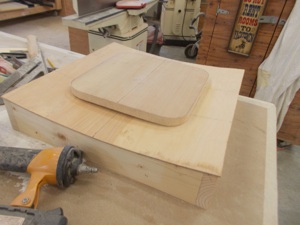
Speaking of the hatch.. The current plan is to make up a ring to help support the deck and give a flat surface for the hatch to mount to. Last time we saw the ring-mold being built. Here is this same mold coated in gelcoat.
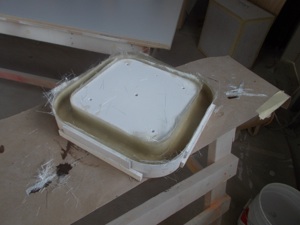
Glass..
This is a one off part using a one-off mold. So we can’t pull vacuum on it. Therefor, there’s no infusion possible. This part is built the old fashioned way. Hand layup.
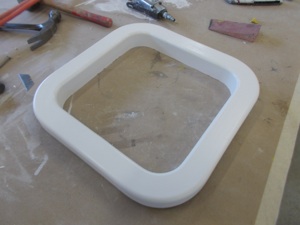
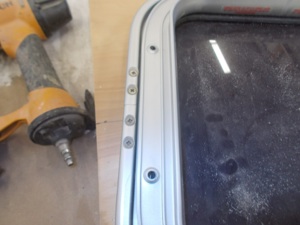
The ring pulled from its mold.
Trimmed and being fitted to the hole in the foredeck. The idea is to fit this to the cabin as close as possible, then to bond it in. Once its bonded in, we can trim it, then fill and fair everything to erase the seam.
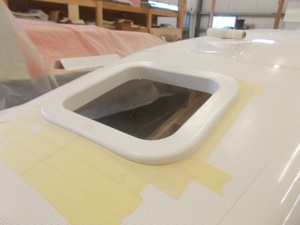
And the hatch should look something like this.
Lest you get the idea that boat building is just assembling delightful parts into wonderful boats. Notice the seam on what will be the port side of the hatch. Maybe 1/8” gap?
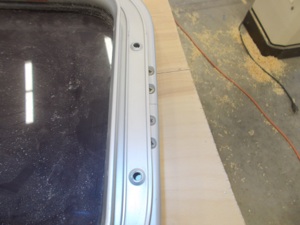
And on the starboard. Wait a sec.. Starboard side has about 1/8” overlap!
How do you tool up something to accept up to 1/4” error? Tom left extra room in the trim ring for “fitting”, but he had no idea how bad these hatches could be. We did order a new one just because this one is getting old. Its been kicking around the shop for something like five years. We’ll see how well built the new one is.
1/2” Corecell double cut core. Costs like crazy and we use it just about everywhere in the Darts. We ran out this week. There was almost enough to finish this boat, but we ended up about 4 sheets short. Ouch! Time to order up another case of the stuff.
Well, it turns out the world has run out of 1/2” Corecell core. 6-8 weeks?!? Oh lord no!
This is so “composites industry” as it runs today. The little guy gets nothing but the leavings of the huge companies. There are all sorts of really neat things people have created for this industry but, unless a large company is paying to stock some for themselves and there’s some scraps, the little guy is out of luck!
I guess that’s one of the reasons for the underground of this business. I came in the next day and here’s 8 sheets for 1/2” double cut Corecell core, ready to go.. A few calls had been made, favors called in.
Seems San Juan had some extra and were willing to trade/barter/sell.. We’re back on track.
Ok, wind the clock back to building Dart #3. Remember the little triangle braces used to reenforce the stanchion bases? There’s issues with this process. They are lightweight and plenty strong, but the alignment is so precise that they must be installed after the deck is fitted. This means they will always show as an add on bit. And not only that, they take forever to install! We needed a better process for this.
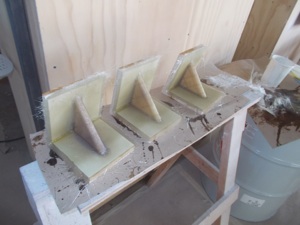
Here’s the plan. Instead of building them in place and trying to patch up the gelcoat afterwards. (It always shows.) We tool up the angles and build them as separate parts beforehand with a bonding flange already incorporated.
The angle we can get very precisely. Its the for/aft alignment that we’re not able to locate well enough.
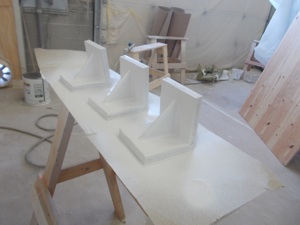
Molded, filled, fared and gel-coated. Now we pop them off their molds, trim the flange and we’re ready to bond them into the boat once we know exactly where they need to go.
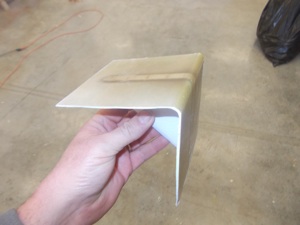
Untrimmed part showing back side. This is what will be bonded to the hull/deck seam area.
Filled and fared front side. This is the part that will show in the cabin. We’ll trim the edge to round the corners etc. Then put a bead around it to blend it all in. This should be a big improvement for installation and be better looking as well.
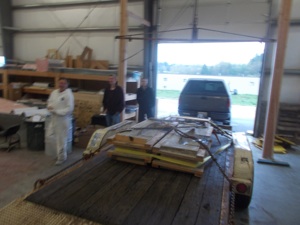
Lets see, what else? Horrible blurry picture but this is the keel molds heading to Seattle. We’re going to have a couple lead keel bulbs cast. Also, the middle blob is Gavin come back from college for a visit.

Well,.. I broke it last fall. I spun a rod bearing in the poor thing while Nate & I were in search of cheeseburgers for lunch. Sigh..
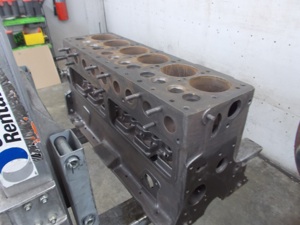
So, getting the engine rebuilt is also going on at this time. This is a “weekend” project that Tim/Tom don’t really appreciate. ‘Cause it clutters up the shop and tends to leave things somewhat messy when they come back on mondays.
Really, we clean up everything! But we always seem to miss something. Tim/Tom love pointing it out to me when we all get to work the next week.
Anyway.. That’s where we sit today.
I’m hoping to come in sometime this weekend and install electronics. (Fingers crossed) I’m not sure if the deck will go on next week or not. I know Tim/Tom wanted to hold off until the hatch was complete. And, they wanted to hold off on that ‘till the new hatch came in. Its backordered..
The rigging package is promised for next week. We need that for completing the deck hardware installation. Its not like we have nothing to do, its just the big exiting things are held up for various reasons.
And I wonder where our masts are? I better call Buzz..
Friday, April 19, 2013