Closer and closer..
Tuesday, November 23, 2010
Its taking a lot of discipline to work through and document all the final details involved in building one of these boats. But, we’re doing it. Hopefully this will pay of later down the line. Here’s a quick look at what’s been going on.
Keel #2. We contracted James Betts to build us a new keel bulb mold. The last one didn’t survive the first pouring. Along with the bulb mold we also had five ingot molds built so that we will no longer use lead shot in the keels. There are now shaped lead ingots that pack much tighter into the keel fin for the extra weight.
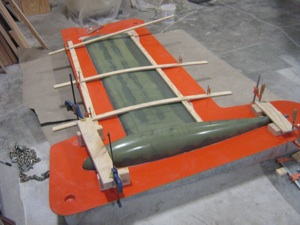
The keel skins being bonded together.
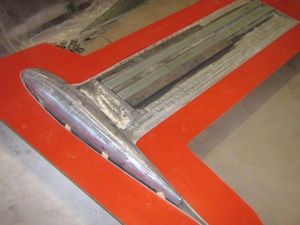
The nose of the keel, glassed and smoothed. The nose of the keels are glassed over to help holding everything together. Once the keels are all bonded together, they are filled completely with liquid epoxy. The result is a very strong solid piece.
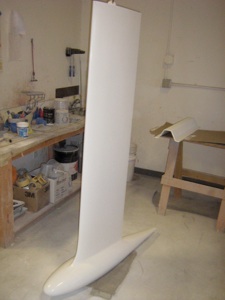
Keel’s all finished up ready for final fitting.
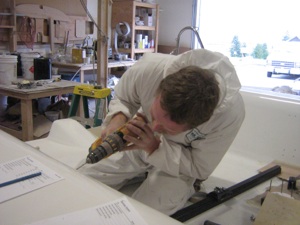
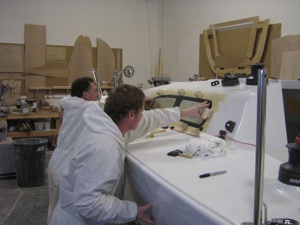
While this is going on we’re also busy in the hull mounting all the sailing hardware. Notice the printouts in the picture here. Documentation, documentation, documentation. What parts go where and what fasteners hold it all together.
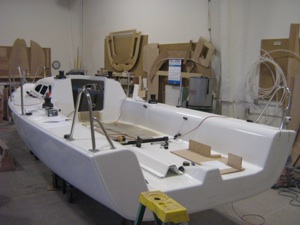
Most of the bits installed. Even the LED running lights have been installed and tested.
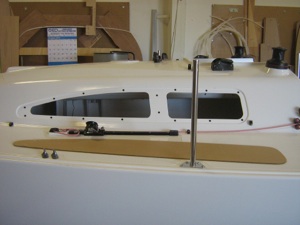
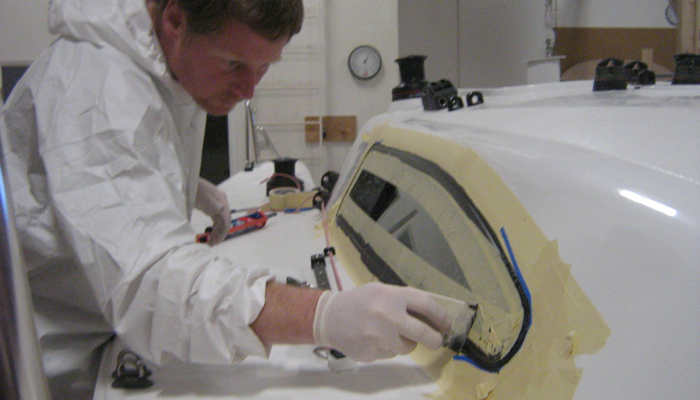
Beginning the window install. Spacers are glued on first.
Pressing in the window.
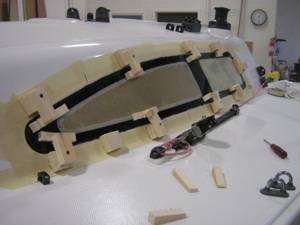
Held in place waiting for the adhesive to kick off.
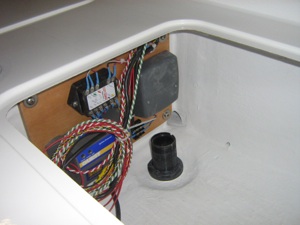
Electrical accessory panel installed. This is for mounting the battery charger, stereo and TackTick wireless speed and depth system. The difference this time is that we were able to build it all up as a module on the bench and just plop it in ready to run the wires.
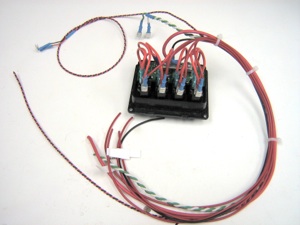
For example: Switch panel wiring harness built, labeled and ready to instal.
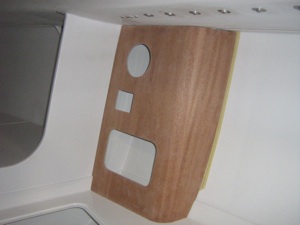
Here’s where the switch panel harness will go. Now, last time these side panels were hand built and were extremely labor intensive.
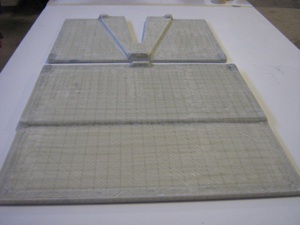
This time.. We built up a set of tooling and templates to help.
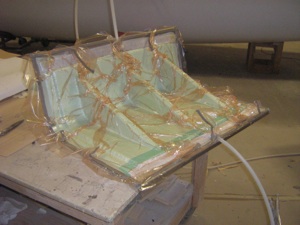
From the mold we use to create the blank wood faced panels.. We built another mold. Using this new “inside” mold we created a set of “outside” skins.
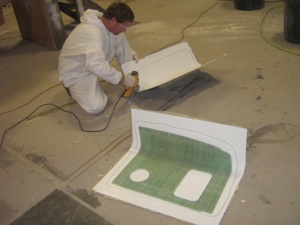
Sometime before, we’d (Tom) created a set of “glass master” side panels. Using these master panels we trim the new “outside” skins to make templates for trimming out the wood faced panels.
Sounds complicated. It was complicated and took a long time! But the result is a very accurate and easy to use set of templates for cutting out the complex shape of the side panels.
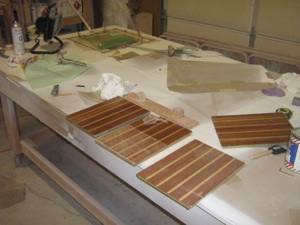
And while all that’s going on, we’ve been doing experiments making infused composite teak and holly. Actually ours is cherry and maple.
The underside of the floor for a Dart. They have built in reinforcement plates as well as pads so that the flat floor will fit into the shaped boat bottom.
So, when flipped over and installed they look like..

This!
The wood is actually protected behind a layer of clear gelcoat and fiberglass, infused over glass wrapped foam core.
They turned out really cool!
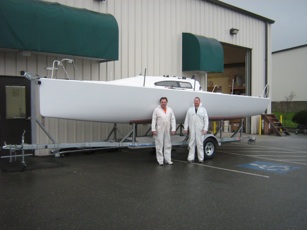
So close! What’s left? The wood trim for the side panels, interior lights, the behind the panel wiring, railing rigging and setting up the mast.
Want a Dart? We can build ‘em now!