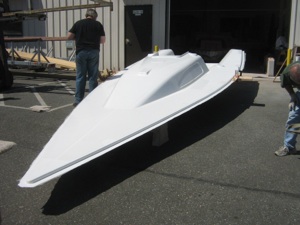
The real deal.
Wednesday, August 4, 2010
Hull #2, the first production quality boat, is going along just swimmingly. All that we learned building “Good Enough” along with Tom’s background and now Tim’s background in boat building is being put to work. Here’s some shots from the shop showing current progress.
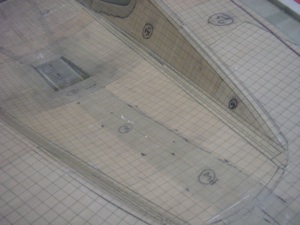
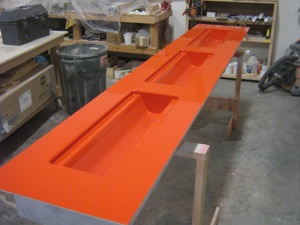
Deck core templates. This took a lot of thought, coming up with how we were going to lay out the core on the deck. The deal is that everyone sees the underside of the deck. So, not only is the core a main structural factor, it has to look good as well.
Skin coat. Tom & Steve both beat me up to allow them to skin coat the deck before laying in the dry stack materials.
I didn’t want to deal with the open molding step or the extra weight that a skin coat adds to the part.
But, a skin coat works wonders for achieving an un-flawed surface gelcoat. In the end I relented and let them skin coat it.
Core going on, nearly complete..
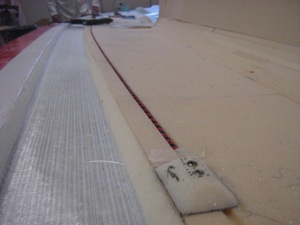
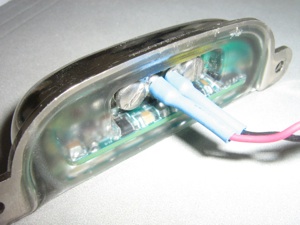
A new twist. The navigation light wiring going into the core. That’s right, the navigation lights and the electronics power feeds are being built right into the deck.
On both sides of the companionway door, where everyone likes to mount instruments.. We supply the electronics & navigation light power feeds.
Pretty slick huh?
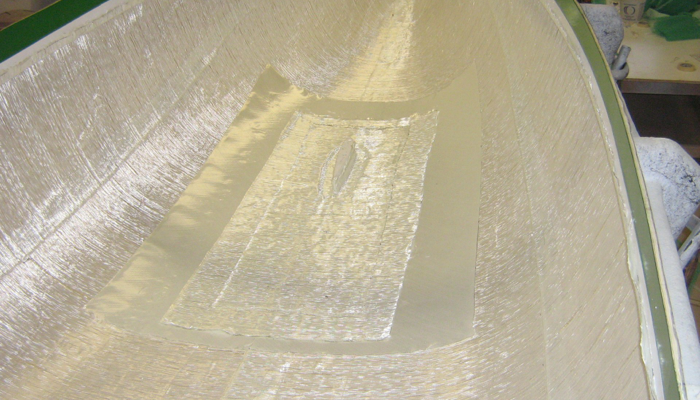
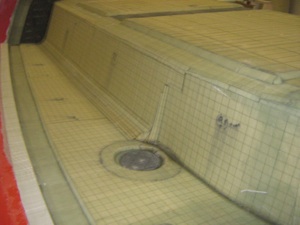
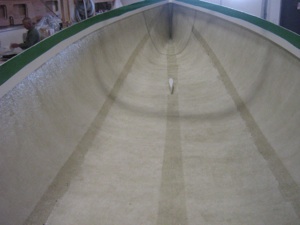
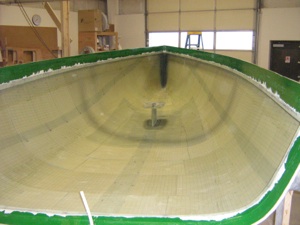
After the resin is infused into the part. The core looks like Roman tile work.
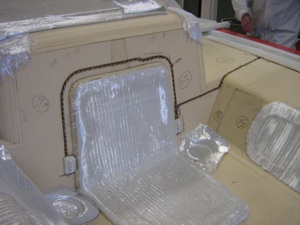
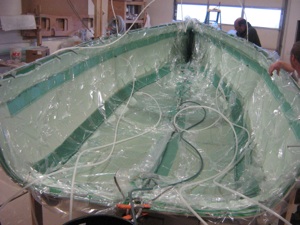
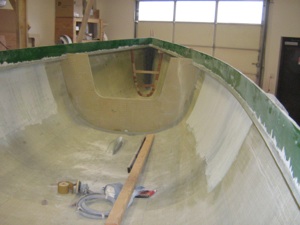
Cockpit area coring.
Notice the larger core section that goes across the cockpit floor? You can see it in the picture. No longer do we need thwart ship bracing. You will be able to haul elephants in this cockpit!
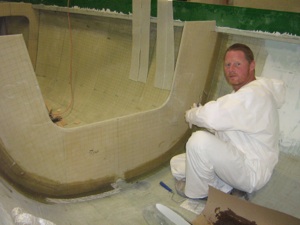
Deck #2 ready to trim up. It turned out great!
New foot rests. The mold for the version II foot rests is now complete. The new foot rests are the same height, but have more volume underneath. This allows the backstay rigging under them to clear better.
Also, they are symmetrical. This allows us to run one in front of the traveler, down the center of the cockpit.
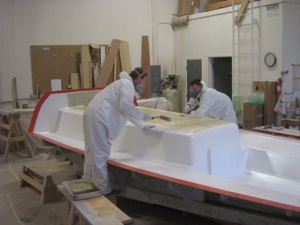
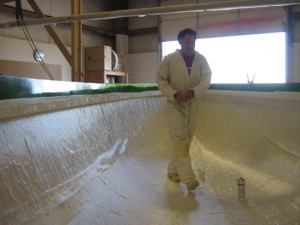
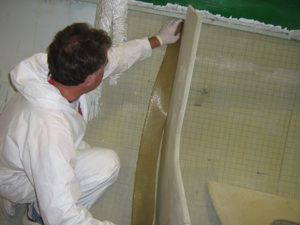
Hull #2, skin coated. I let them skin coat the hull as well. Not only does this make for a tougher gelcoat, it allows the guys to walk in the hull when adding the first layer of glass.
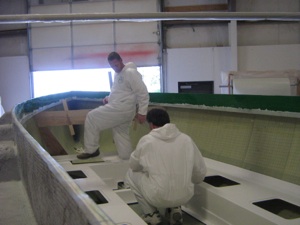
First layer’s in, core’s going in.
Jim Betts and I had a talk about different brands and types of core. He told me that the best stuff was Corecell. In fact, all the boat builders I talked to around here agreed. Corecell was the best. So Corecell’s what we’re using.
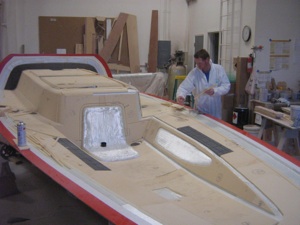
Tim, finishing up the glass work.
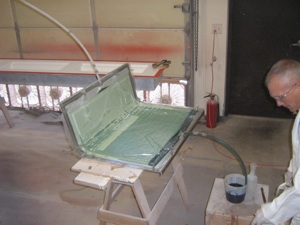
Being infused.
All done! Ready for interior.
The new core absorbed far less resin than the old core material. (A good thing) So much less in fact, that it more than made up for the added weight of the skin coating. Better stronger parts and lighter to boot.
Slick!
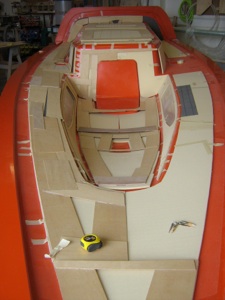
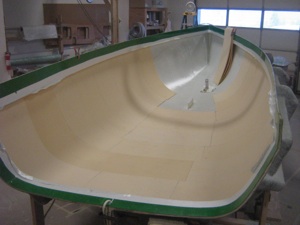
Lining up the interior parts.
Bulkheads going in..
Tabbing in bulkhead #3. This is the main bulkhead. Most everything in the interior indexes off this part.
Mostly tabbed in. This is going on as I write. I keep going out and bugging them taking pictures.

What else is going on?
Mike’s shooting an experimental gelcoat interior panel.

Delrin molds. We finally found a machine shop we could work with. Inject Tool & Die, Inc. In Oak Harbor. (360) 679-6160 These guys are going on our gold star vendor list. They were able to develop this cool new delrin mold for the stereo.
Inject Tool & Die also redid the touch light tooling in delrin. The new tooling insets the electrical connection area. This makes mounting much easier because now only three holes are needed. Two for the mounting screws and one for the wires. Before this, the customer had to make a rectangular cutout for the connection hardware.
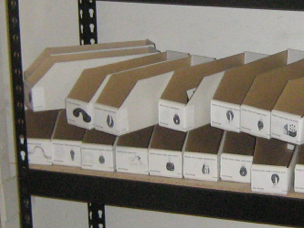
Inventory control.. Things are going into production, we’re going to need a much tighter control of parts. Therefore, we now have the beginnings an inventory system.
I noticed that Harken had images of all their parts on the web. So we put the pictures on the boxes. In this way, our non-sailing crew can figure out what goes where easier. Well actually, we’re all finding the pictures pretty handy.
So, that’s where we sit today. Slowly #2 goes together, but a lot faster than #1!