All the bits are here.

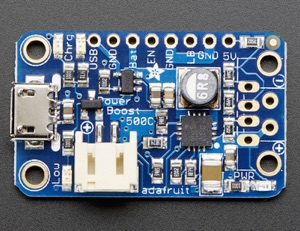
5V and charging from USB, now I’ll need one of these..
Now just to fit it all in.
Suddenly the RAM issue was solved!
Original calculator running on a Teensy
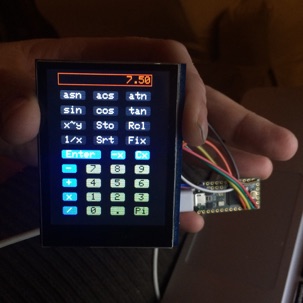
I had the touchscreen, and I had code from the eye project showing how to run the screens from the Teensy. Turns out it was exactly the same as the Arduino. Just a lot faster.
First was to see if I could run the bigger touch screen from the Teensy. Turns out, with some tweaking to my screen library, I could.
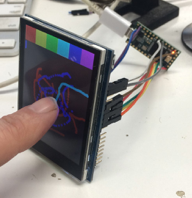
And it worked! The toolkit I wrote allows you to have a touchscreen interface with just a couple lines of code added to your Arduino sketch. And it all runs in the background during idle time.
Once everything was running on a USB cord it was time to make some decisions. It would be nice if it was battery powered and rechargable from a USB cord. This means a battery charger circuit. Also, the battery is only 3.7V but the screen wants 5V. This means a power converter.
Shopping list of the bits used :
The touchscreen : https://www.adafruit.com/product/1947
The power system : https://www.adafruit.com/products/1944
The power switch : https://www.adafruit.com/products/805
The battery : https://www.adafruit.com/products/1578
The processor : https://www.adafruit.com/products/2756
The beeper : https://www.adafruit.com/products/160
The screws : https://www.boltdepot.com/Product-Details.aspx?product=6363
Fine 24-30 awg silicon wire. You’ll need it fine and flexible.
